Image: AI-generated illustration. About our images.
Jump to ingredients and method ↓
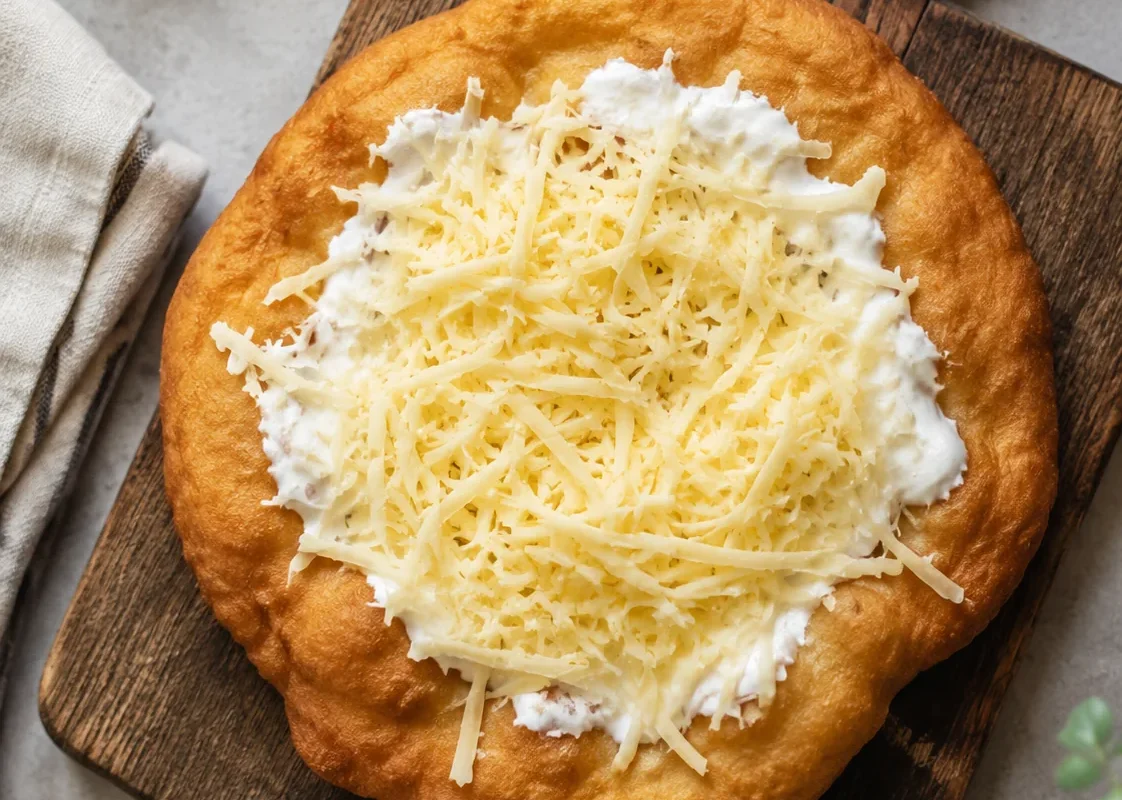
Yeasted dough is stretched into flat rounds, fried and topped with garlic water, sour cream and cheese. Prepare the toppings while the dough rises and add them only when each piece is ready to eat.
Recipe Summary
20 minutes (plus 1 hour rising time)
15 minutes
1 hour 35 minutes
6 servings
Medium
Ingredients
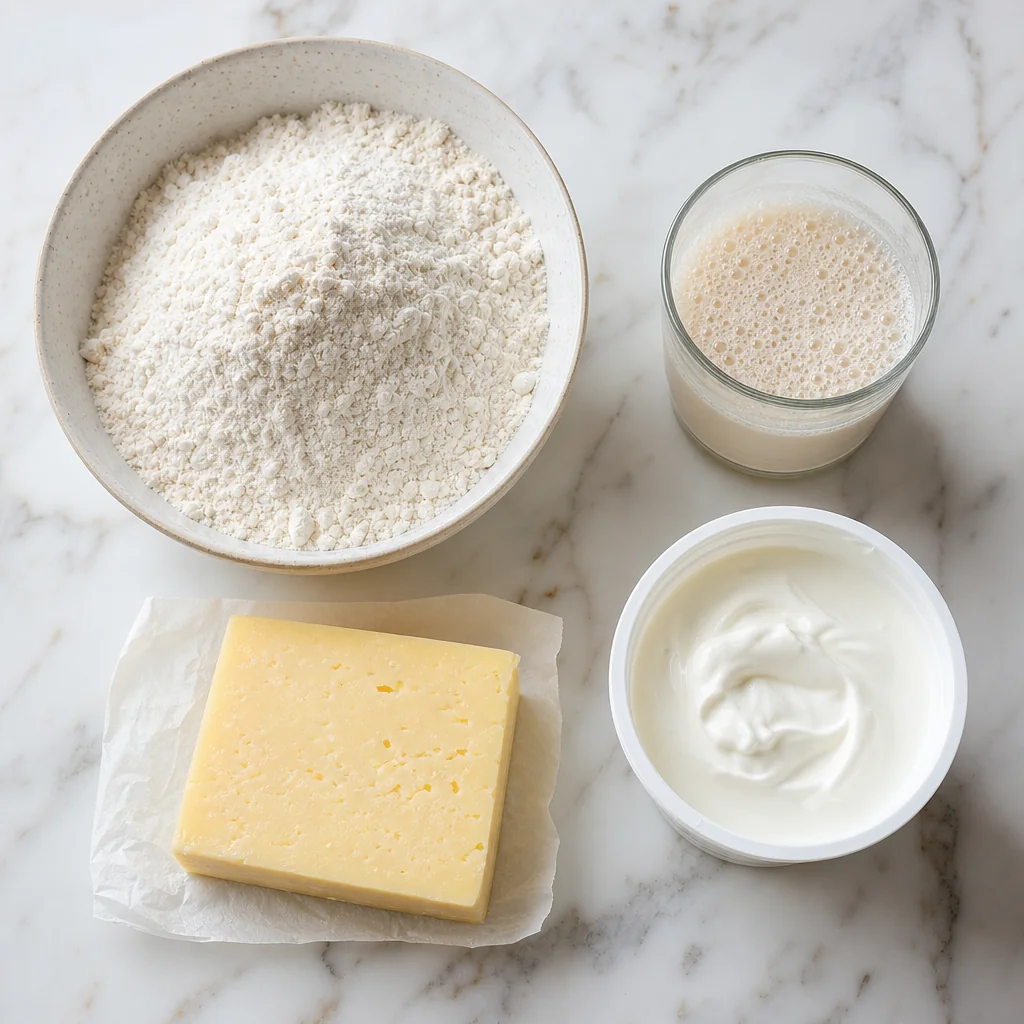
- 2 1/2 cups all-purpose flour
- 1 cup warm water
- 1 packet (2 1/4 tsp) instant yeast
- 1 tsp sugar
- 1 tsp salt
- 2 tbsp vegetable oil
- Oil for frying (sunflower or canola)
- 2 cloves garlic, minced and mixed with 1/4 cup water
- 1 cup sour cream
- 1 1/2 cups shredded mild cheddar or mozzarella cheese
How to Make Hungarian Lángos with Garlic, Sour Cream and Cheese
- In a small bowl, combine warm water, sugar, and yeast. Let it sit for 5-10 minutes until it becomes foamy.
- In a large mixing bowl, combine flour and salt. Add the yeast mixture and vegetable oil. Mix until a soft dough forms.
- Knead the dough on a floured surface for about 5 minutes until smooth. Place in a greased bowl, cover with a clean towel, and let rise in a warm spot for 1 hour, or until doubled in size.
- Punch the dough down and divide it into 6 equal portions. Roll or stretch each piece into a flat circle, about 1/4 inch thick.
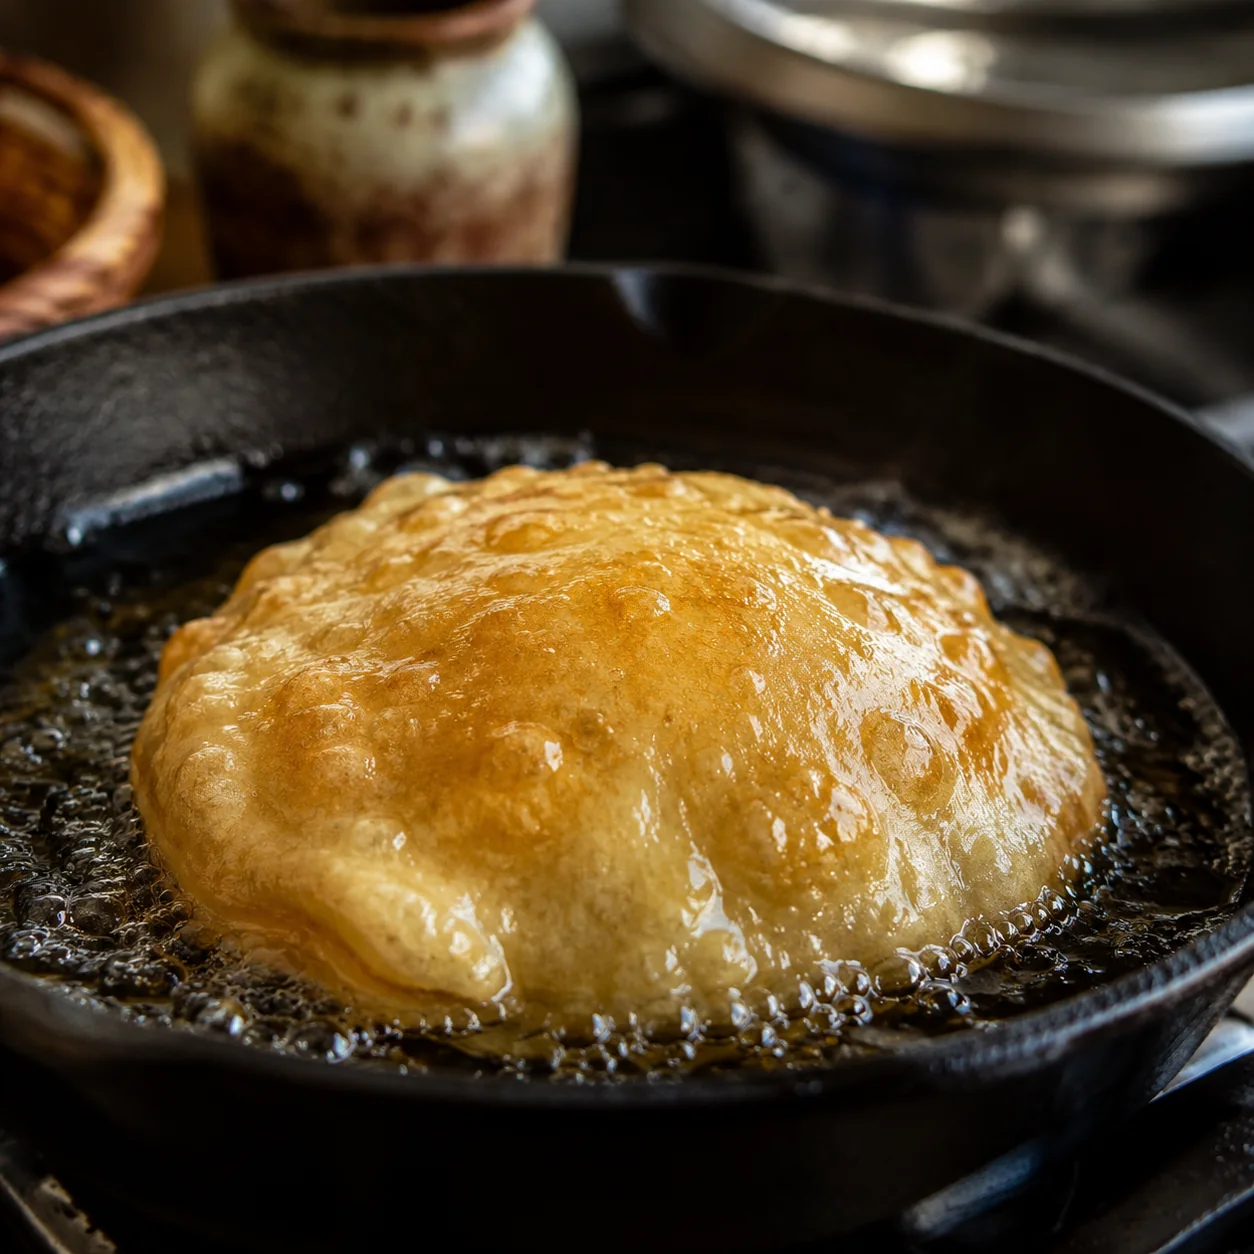
- Heat about 1 inch of oil in a heavy-bottomed skillet over medium-high heat. Use a thermometer to heat the oil to about 350°F (175°C). Fry each piece for about 2-3 minutes per side until golden and cooked through; adjust the heat between batches.
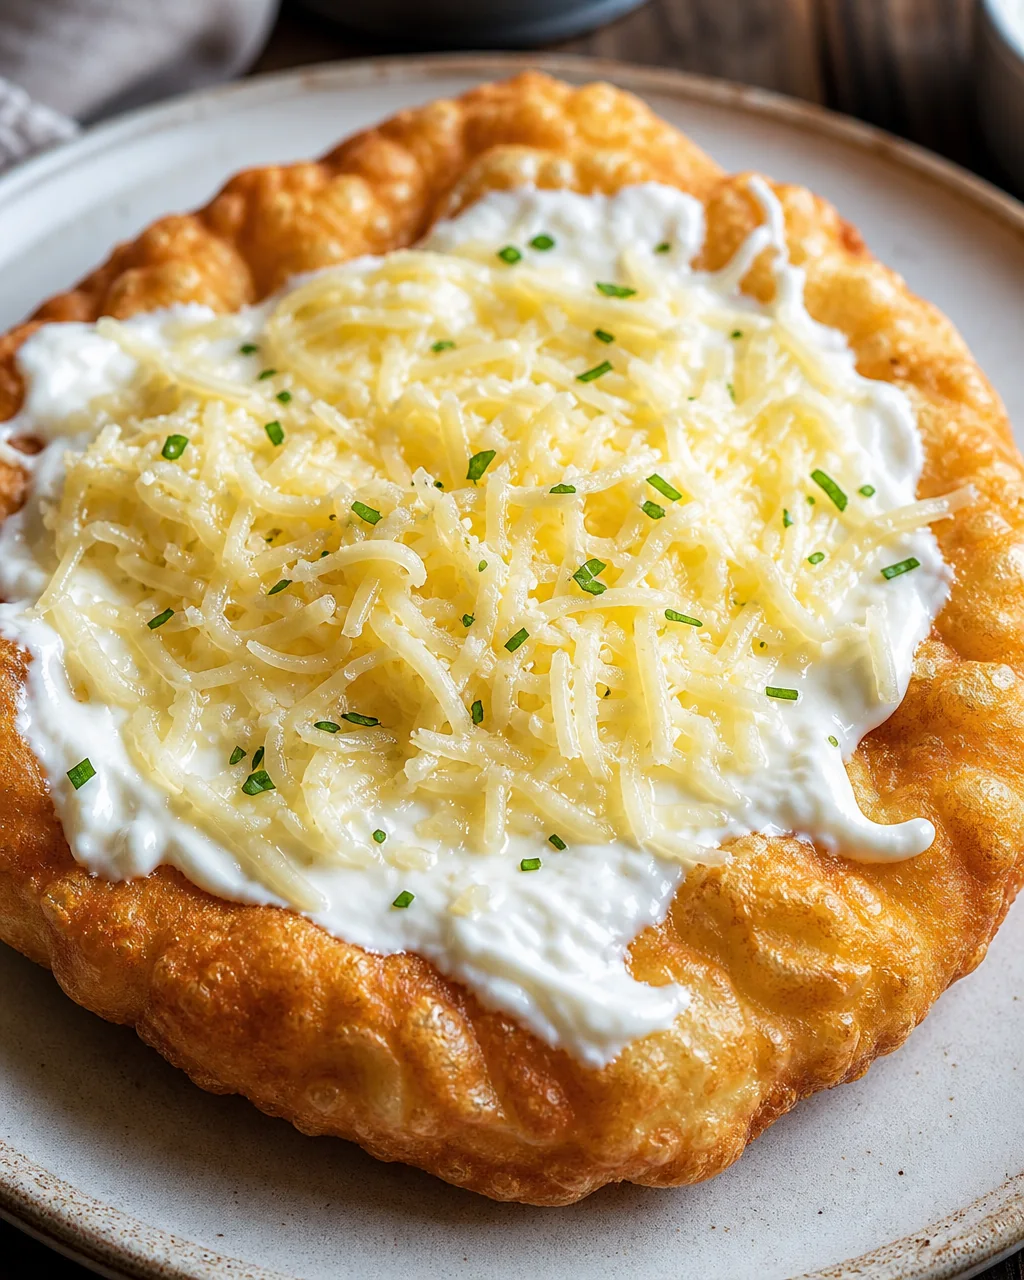
- Remove from the oil and drain on paper towels. While still warm, brush with the garlic water mixture.
- Spread a generous dollop of sour cream over the top and sprinkle with shredded cheese immediately.
Tips
- Ensure your water is warm but not hot, or it will kill the yeast.
- Don’t skip the resting time! Letting the dough rise is the secret to getting that perfect airy interior.
- If you like extra garlic, you can add a little bit of minced garlic directly into the dough for an extra punch.
- Serve immediately while the dough is still hot for the best texture.
Storage Notes
- Langosh is best eaten fresh. However, you can keep leftover plain fried dough in an airtight container for 1 day.
- Reheat leftovers in a 350°F oven for 5 minutes to regain their crispiness. Avoid the microwave, as it will make the dough chewy.
FAQ
Can I use gluten-free flour?
While you can try, the texture will be significantly different as traditional Langosh relies on gluten for that signature chewiness.
What is the best cheese for Langosh?
A mild cheese that melts well is best. In Hungary, Trappista cheese is traditional, but mozzarella or mild cheddar are perfect substitutes.
Store sour cream, cheese and garlic water in the refrigerator, separately from the plain fried bread. Refrigerate any dressed leftovers promptly and use within 24 hours.
Refrigerate perishable leftovers promptly in shallow containers, within 2 hours (1 hour in very hot weather), at 40°F (4°C) or below. See our food-safety guidance.
Updated 21 October 2026: corrected recipe details and clarified safety guidance.
Cooking notes
Stretch the centre a little thinner than the rim and fry one piece at a time if the pan is small. Check the oil with a thermometer and allow it to return to the specified temperature between batches.
From Nana and our readers: Nana Dish shares recipes cooked by our Nana or tried and sent to us by readers. We edit the instructions for clarity. Suggested variations are not separate cooking tests. Meet Nana Dish.